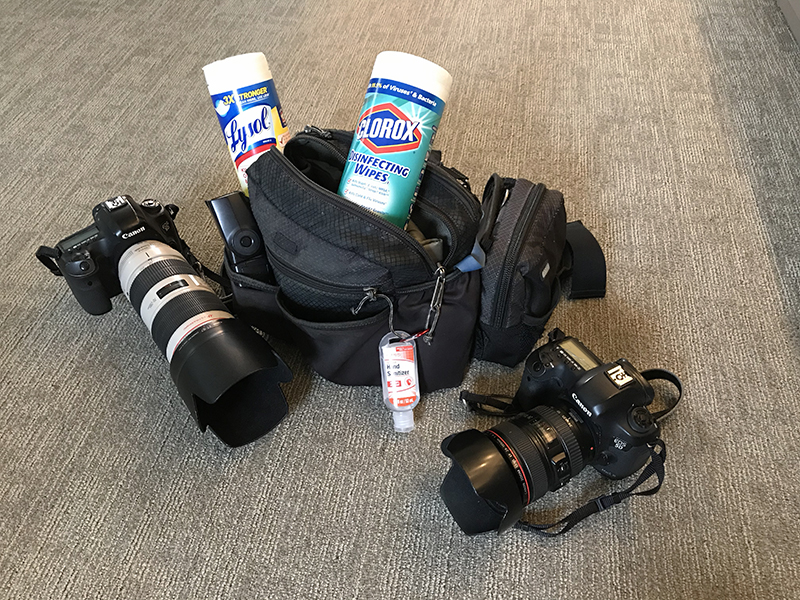
Remember to clean your camera equipment with disinfecting wipes before and after use.
We’re all adjusting to life during COVID-19 and for creatives who are used to working closely with others, this means adjusting our workflows to ensure that we are following social distancing practices and thoroughly sanitizing our equipment, especially pieces of gear that come in contact with our faces.
As a team, we’ve adopted these practices to keep our equipment sanitized.
- Wash your hands before and after touching any equipment.
- Wipe down gear before and after each session (including equipment cases)
- Use hand sanitizer during sessions, especially if you are readjusting equipment.
- Wipe down the lav mic kit before and after interviews with a wipe or disinfectant foam
- Guide interview subjects in putting on the lav mic themselves.
- Keep a safe distance during filming.
- Remember to pack wipes and hand sanitizer in your equipment kits!
First and foremost, recognize the seriousness of this pandemic and try to postpone video and photo sessions. We are reaching out to our subjects and encouraging them to reschedule their sessions. If the session is time-sensitive, see if your subjects can record themselves using Zoom, Microsoft Teams or other recording software.
If you absolutely need to record an in-person session, we recommend practicing social distancing by staying at least three feet away from your subject.
Stay safe, be smart, and keep washing your hands and equipment.
Instructions on filming Zoom interviews/messages
Step 1. Install Zoom meetings software: https://duke.zoom.us/download
Step 2. Under Zoom preferences, adjust the following settings:
- Under audio settings, select “automatically adjust microphone volume”
- Under video settings, select “16:9 (widescreen)”
- Under recordings, it’s best to choose a spot to store your video recordings. Under “local recordings” at the very top, you can pick a spot on your computer to do this. For instance, you can create a folder on your desktop called “Zoom recordings” and send all your clips there.
- Under recordings, select “optimize for 3rd party editor” which will make the video clips ready for editing.
Step 3. Launch zoom and select “new meeting,” which is the orange icon on the top row. If prompted, allow Zoom to access your computer’s video camera and microphone. When the next screen pops up, you should be able to see video yourself.
Step 4. On the lower left corner of the recording screen, make sure to select “unmute” so your voice is audible during the recording.
Step 5. In the menu bar on the bottom of the screen, select “record” and choose whether you’d like to record to your message to the computer or cloud.
Step 6. When recording your message, direct your gaze toward to the top of the computer screen where the camera is located. Speak clearly at your normal volume.
Step 7. When you’ve finished your message, press “stop recording” on the top left of the screen. Then select “end meeting” on the bottom right of the screen. At that point your video will convert to an .mp4 video file. You can upload the video file to Duke box to share it for further editing such as adding name supers and Duke bumpers or share the file directly on your communication channels.

Leave a Reply
You must be logged in to post a comment.