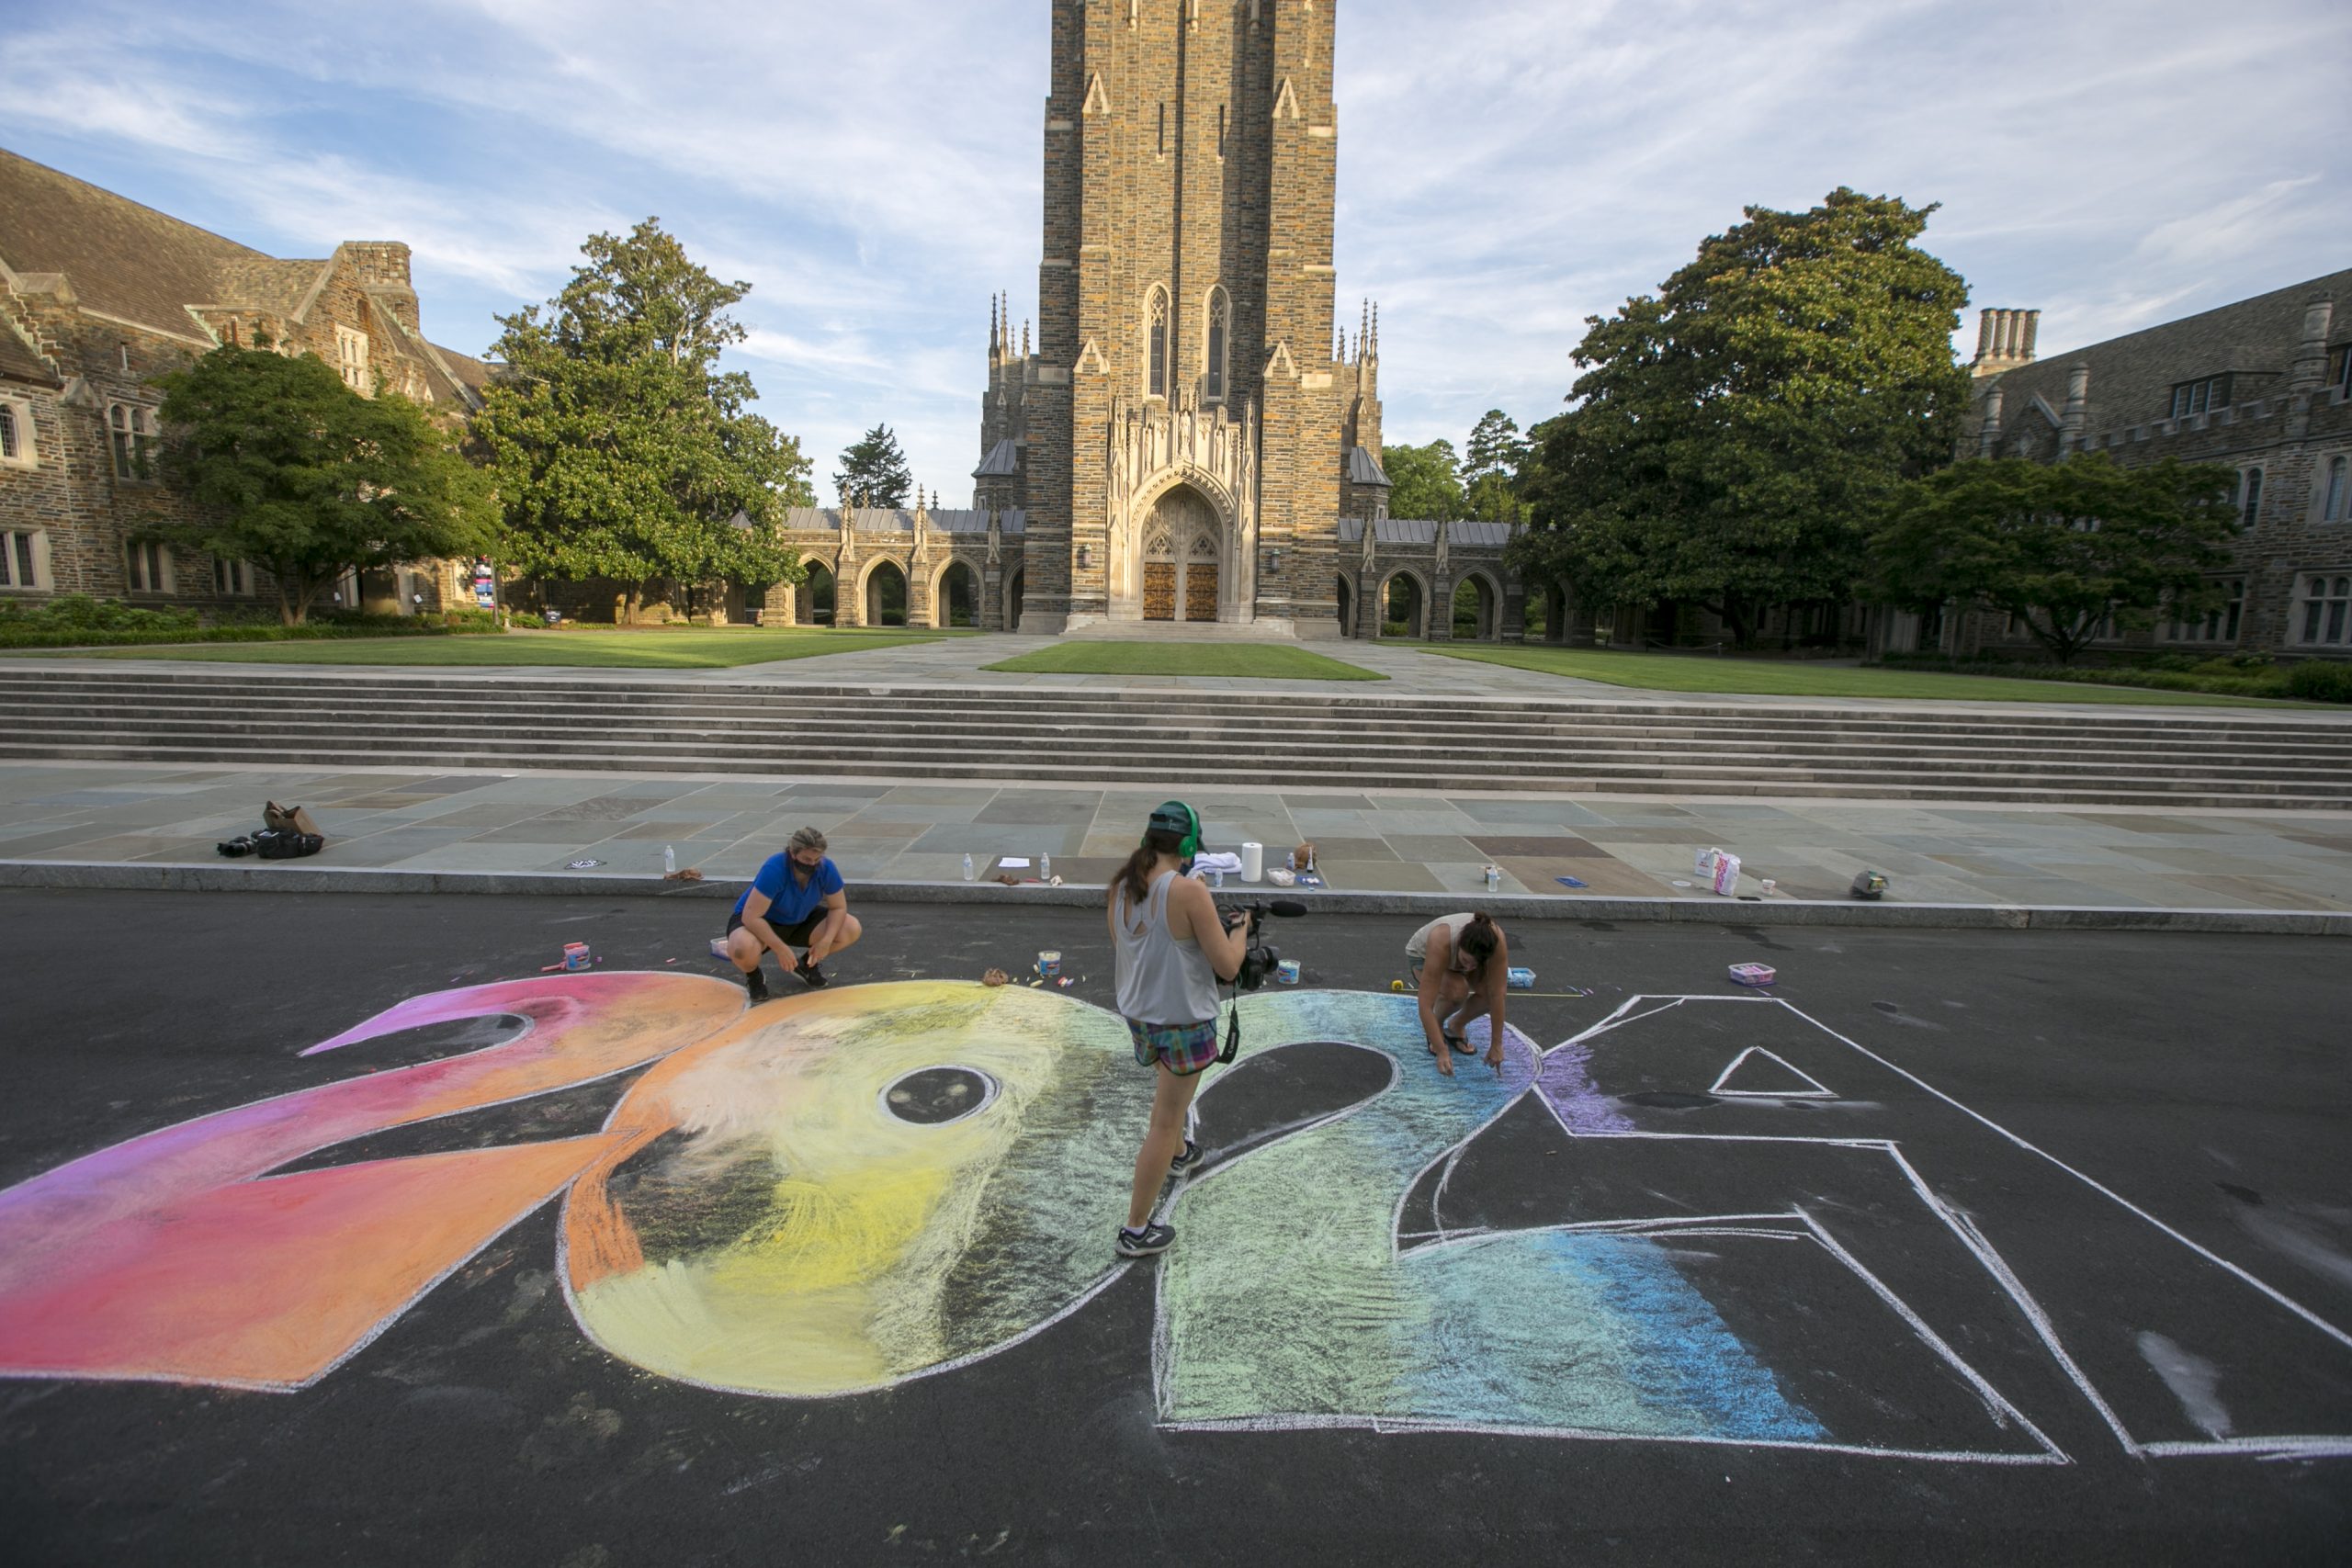
Members of the Duke DISCO team create a chalk mural to welcome the class of 2024 to campus for the Fall in front of Duke Chapel.
We caused the sidewalk chalk shortage in Durham, NC. But we did it for a good reason; to welcome the newest members of the Duke family, the class of 2024!
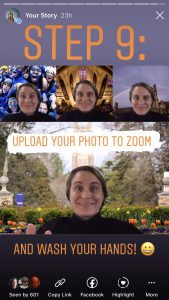
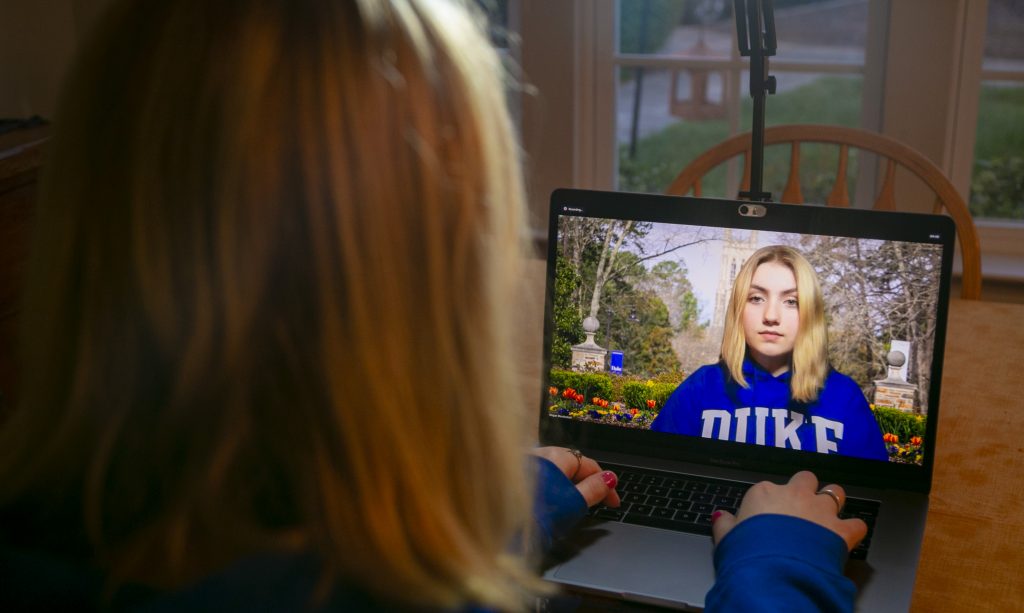
This year’s new student orientation will be a mostly virtual experience, and our student affairs asked our team to create a short welcome video to kick off orientation. After a brain-storming session, we came up with the idea that would welcome students to campus and highlight Duke’s commitment to campus safety. Our approach was to welcome the students to college by creating a visual narrative where First-Year Advisory Counselor (FAC) students create a welcome mural out of sidewalk chalk to greet the class of 2024.
Bringing the mural to life
We wanted an aerial shot of the chalk mural with the Chapel in the background, so we opted for an early morning filming session to take advantage of the soft morning light and avoid the high temperatures of North Carolina’s summers.

University Photographer Megan Mendenhall, left, uses a crumpled plastic bag to blend the chalk by wiping it over the chalk in a circular motion.
Making a chalk mural was a new experience for the entire team. But thanks to a few “how-to” videos, we learned a helpful tip: crumpled plastic bags are the perfect tool for blending chalk. They save your hands from getting scraped by the rough pavement and create a smooth transition when mixing two different colors.
Welcome home, class of 2024!
-
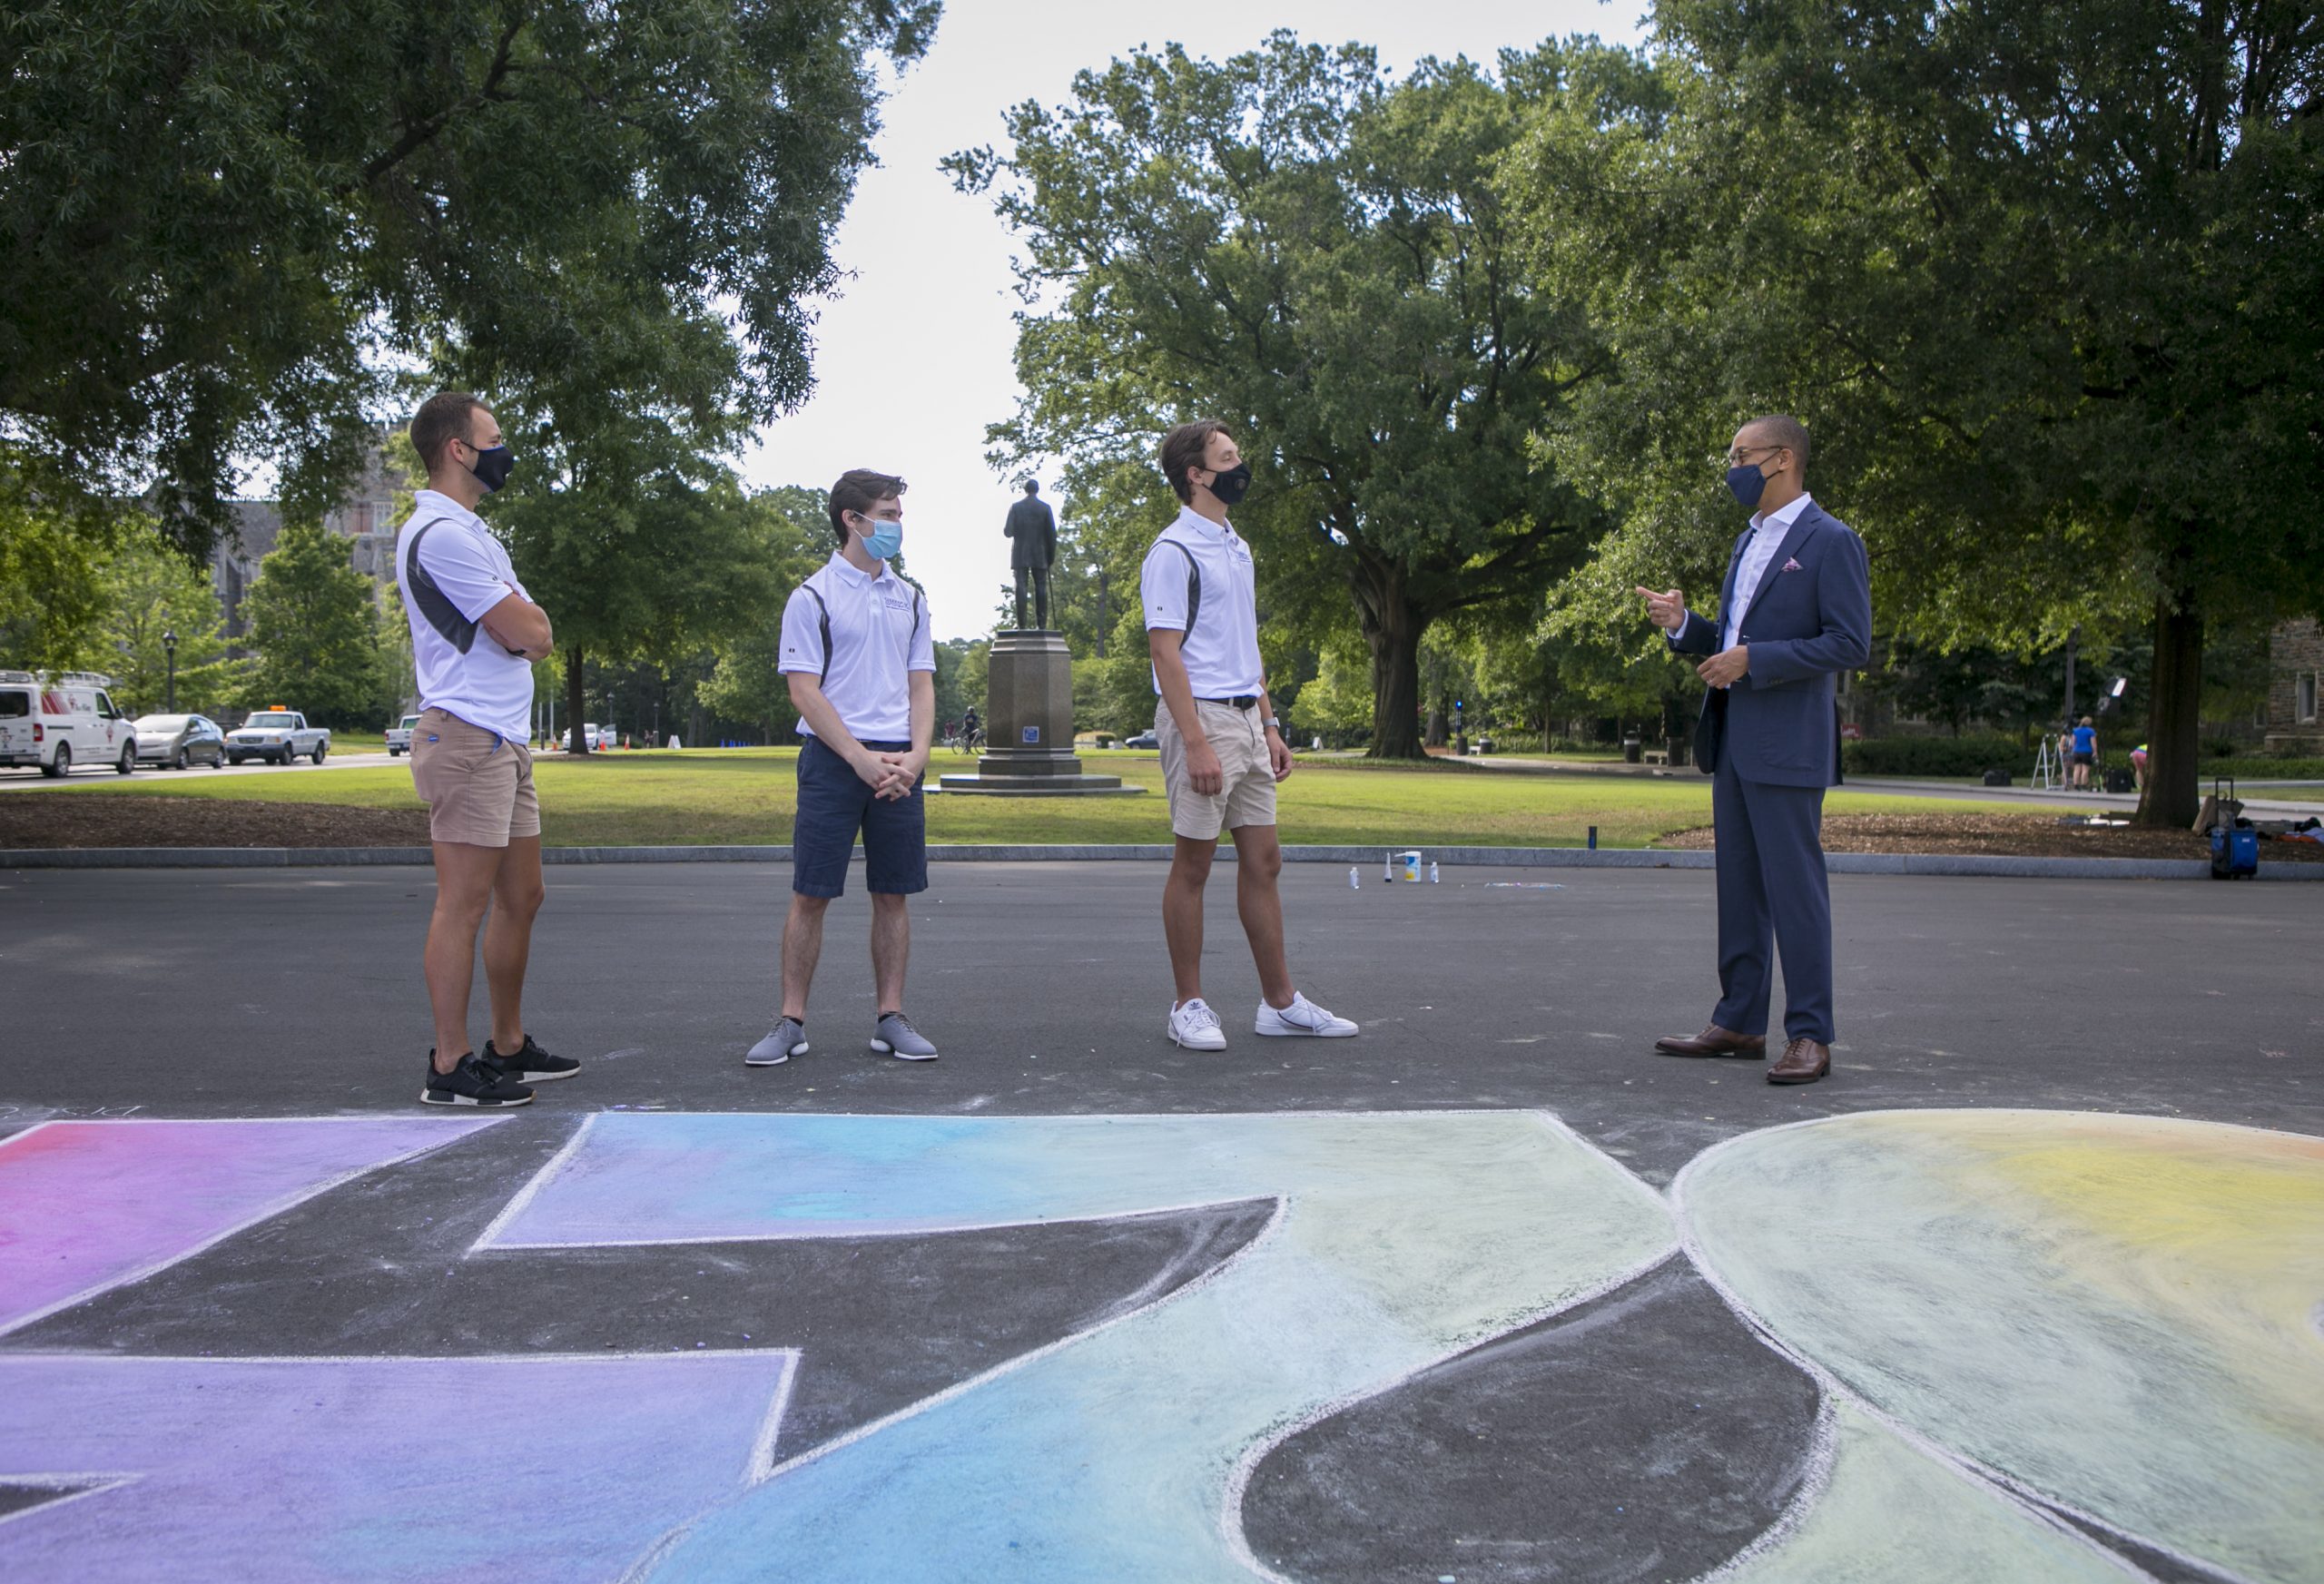
- Gary Bennett, center, Vice Provost for Undergraduate Education, narrates the welcome video as Bill Snead, left, Digital Imaging/Asset Manager, and Julie Schoonmaker, right, Video Manager, record Bennett’s message to the class of 2024.
-
- Gary Bennett, center, Vice Provost for Undergraduate Education, narrates the welcome video as Bill Snead, left, Digital Imaging/Asset Manager, and Julie Schoonmaker, right, Video Manager, record Bennett’s message to the class of 2024.
-

- University Photographer Jared Lazarus, right, films Duke First-Year Advisory Counselor (FAC) students for the virtual welcome video for the class of 2024.
-

- Duke First-Year Advisory Counselor (FAC) students wave to a drone camera that was filming them from above.
-
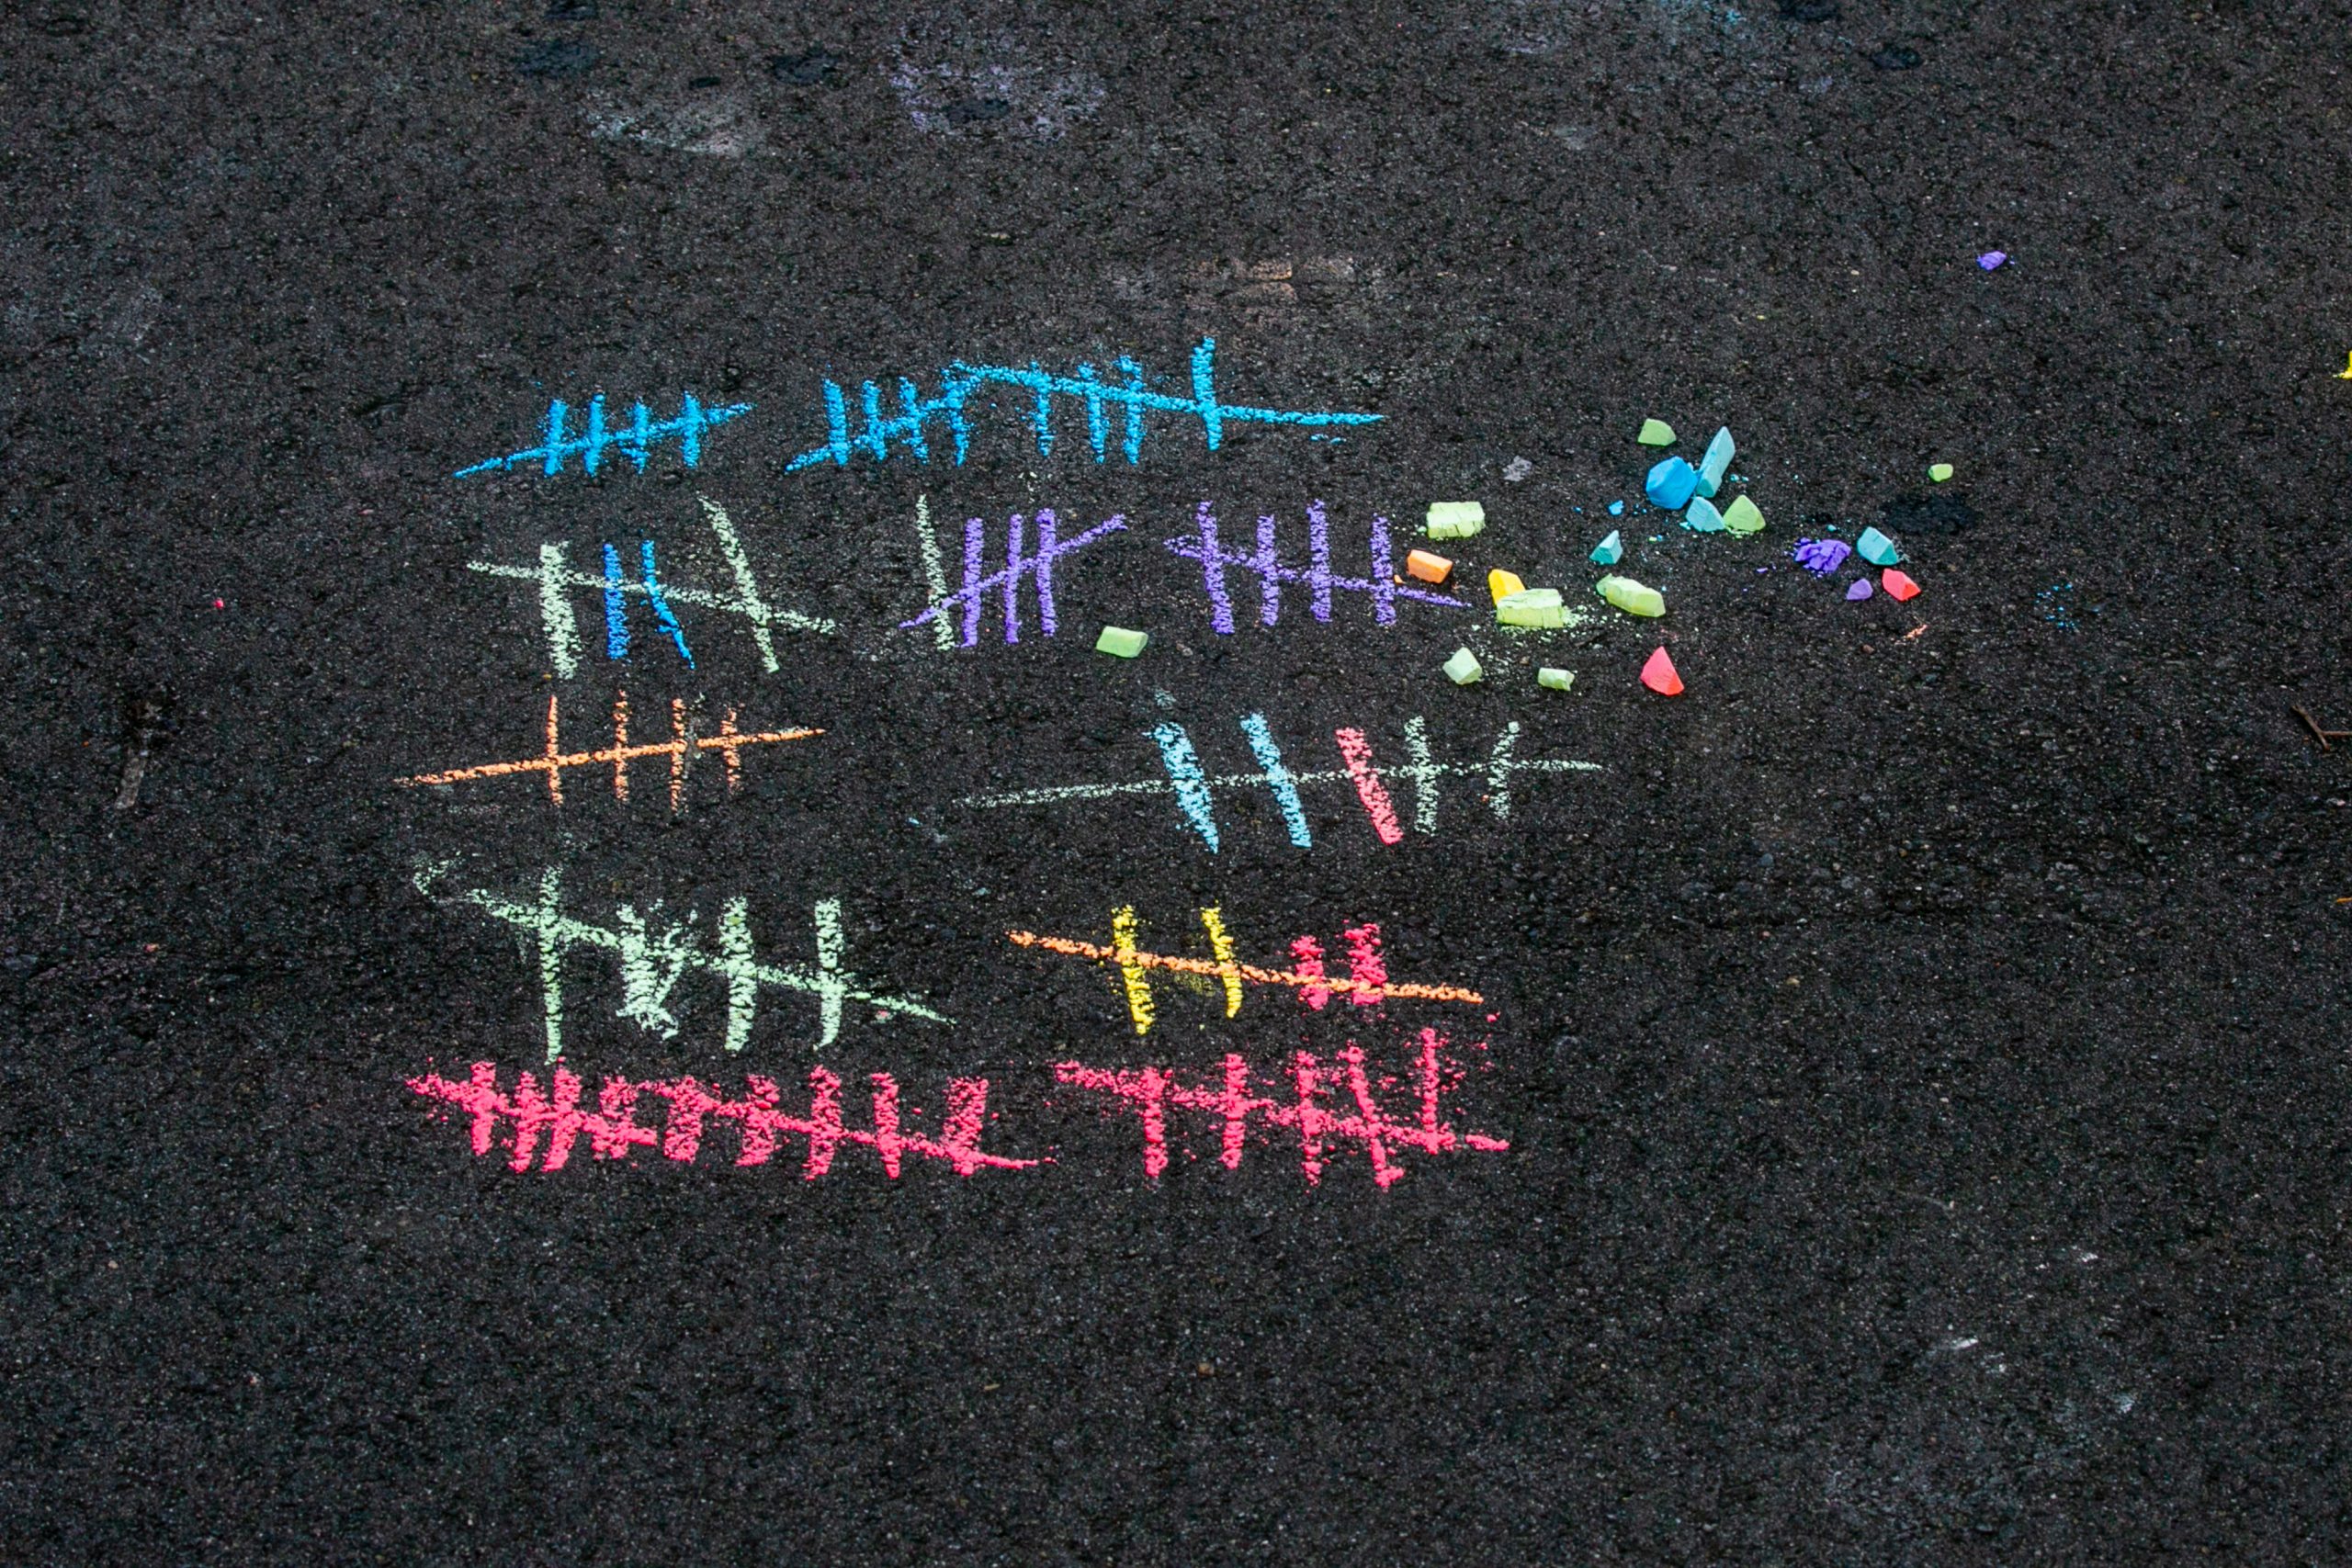
- We counted the pieces of chalk used in making the mural by placing a hash mark on the ground.
-
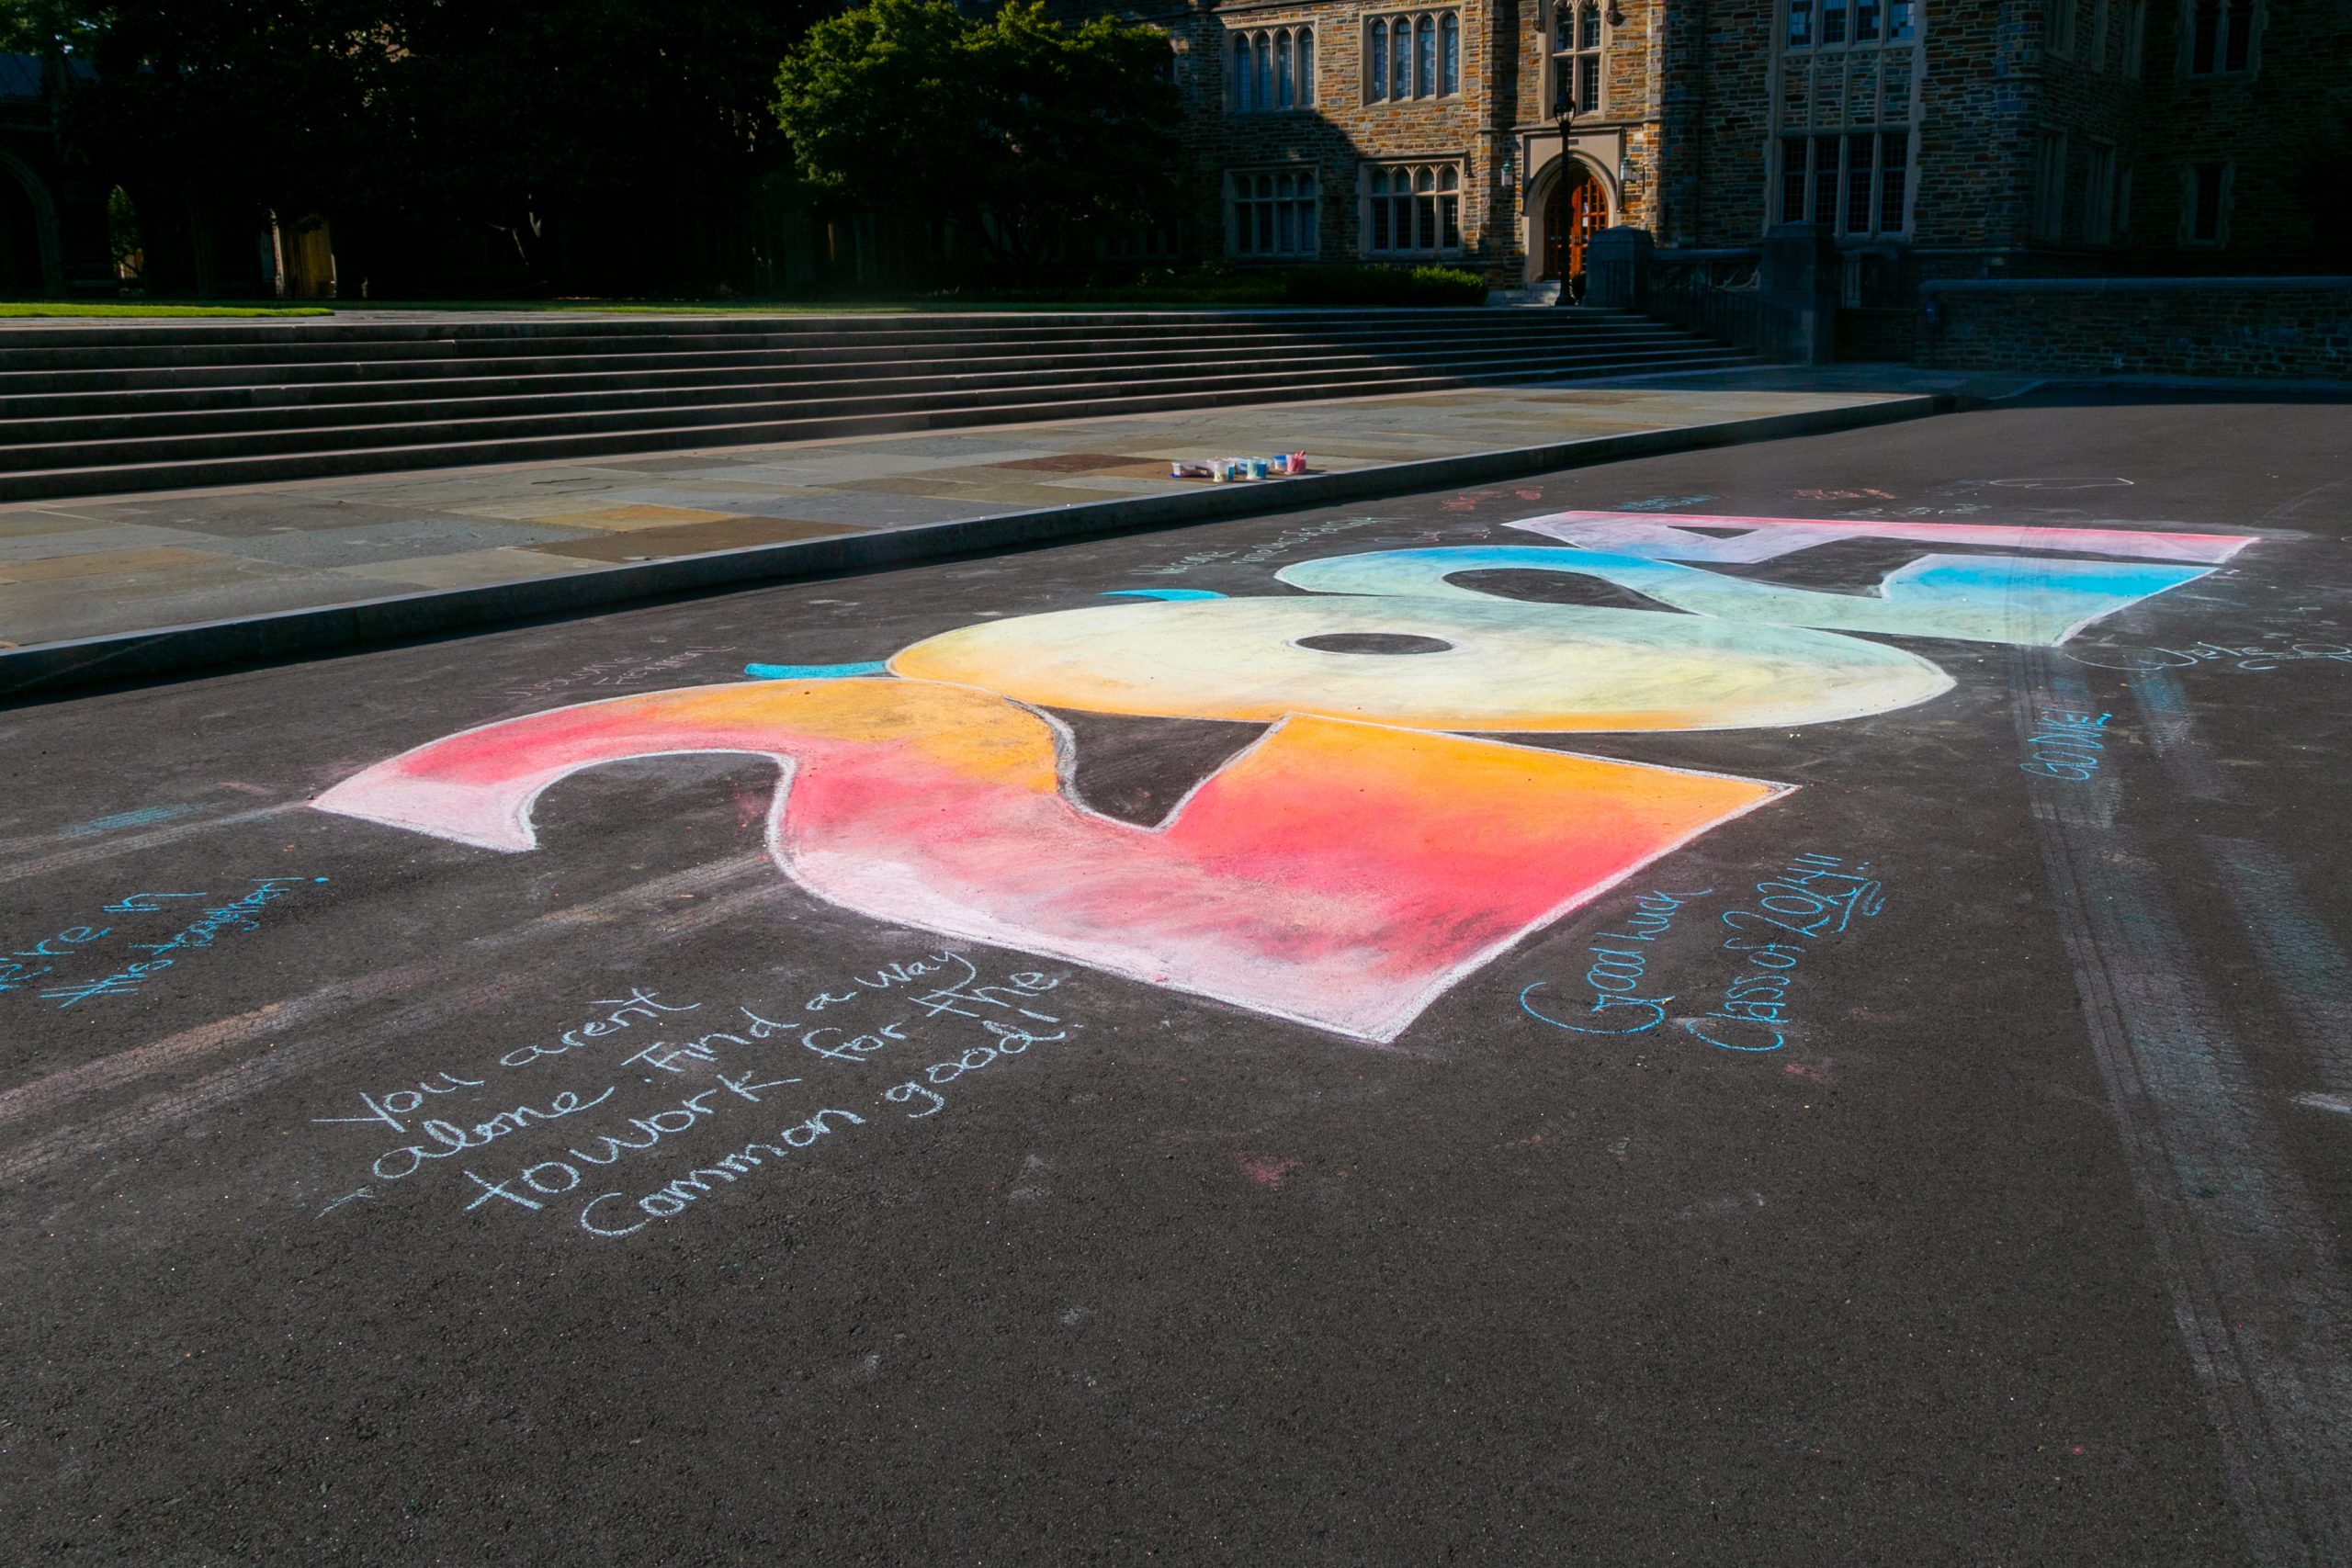
- After the filming session, people wrote messages in chalk around the mural welcoming the class of 2024 to Duke.


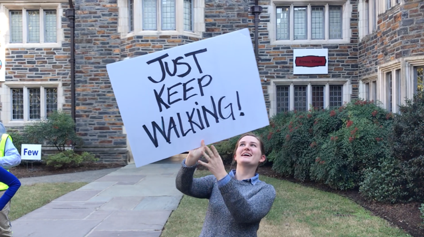 In hopes of keep students moving along, I created a large sign that read “Just Keep Walking” and asked my colleague Caroline Pate to hold it up during the shoot. It worked perfectly. Students kept walking right through the shot in a natural way allowing us to showcase campus life at its best.
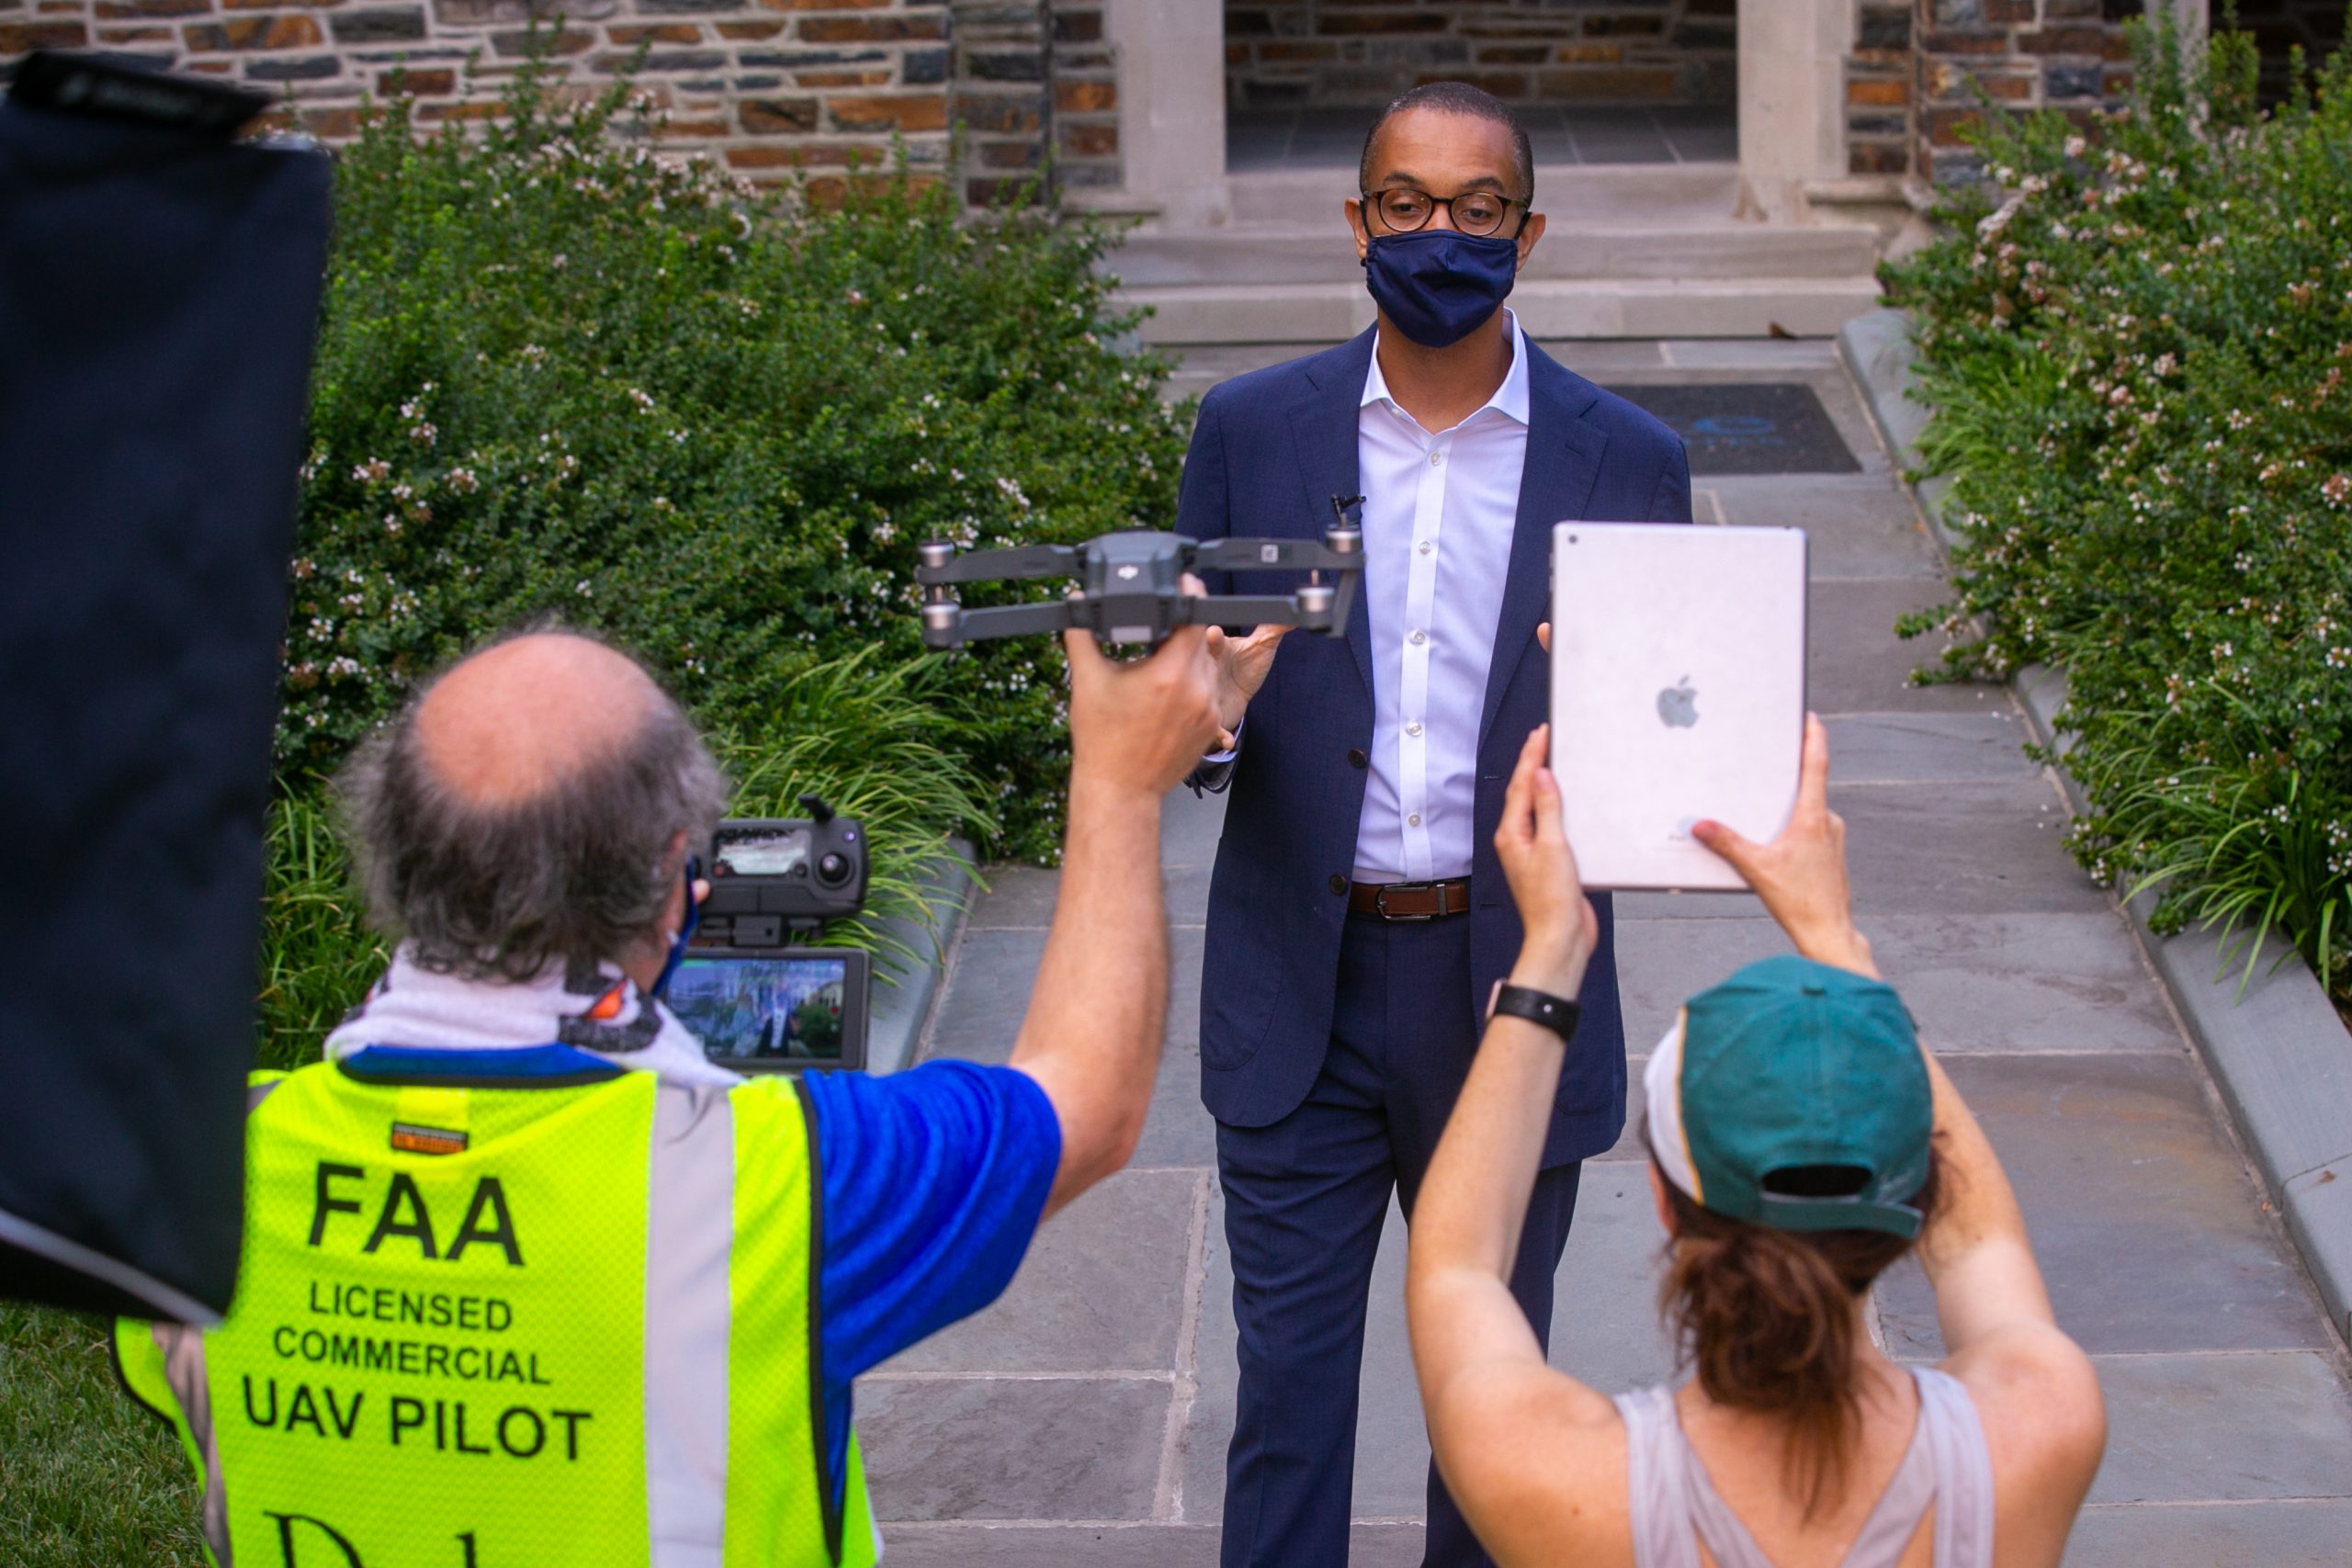
 My colleague Bill Snead and Sam Huntley tested out walking backwards while hand-holding a drone and using the drone gimbal as a steady cam. It worked nicely because there was no noise coming from the drone and it was very smooth. On the day of the shoot, we first captured a traditional shot of the President on camera to make sure we had something usable. Then we captured the drone walking shot. In the end, we used the walking shot because it created the more personalized, dynamic feel.